Contributing to JupyterLab
For a long time, I've been a lover of python. The language, the ecosystem, the projects, the conferences, and pretty much everything around it. However, the deeper I get into the ecosystem, the more I'm aware of the enormous amount of open source infrastructure that feeds it. One of the things I always wanted to do, was to contribute to an open source project.
This post is about just that.
The project: JupyterLab
I have used python for a wide range of project types, but data analysis and data science is definitely a majority. I love using jupyter notebooks as an interactive playing field to solve a problem using data.
JupyterLab is the tool that (in my opinion) will succeed the traditional jupyter notebooks as a browser based IDE. I've been using JupyterLab as a tool in my work and free time, and even though I don't think it's totally ready for prime time, I really love it.
For me, JupyterLab is a big step up from the traditional jupyter notebook interface. It provides awesome features such as an integrated console, support for other file formats, exporting options, a more modern interface, and much more!
How it happened
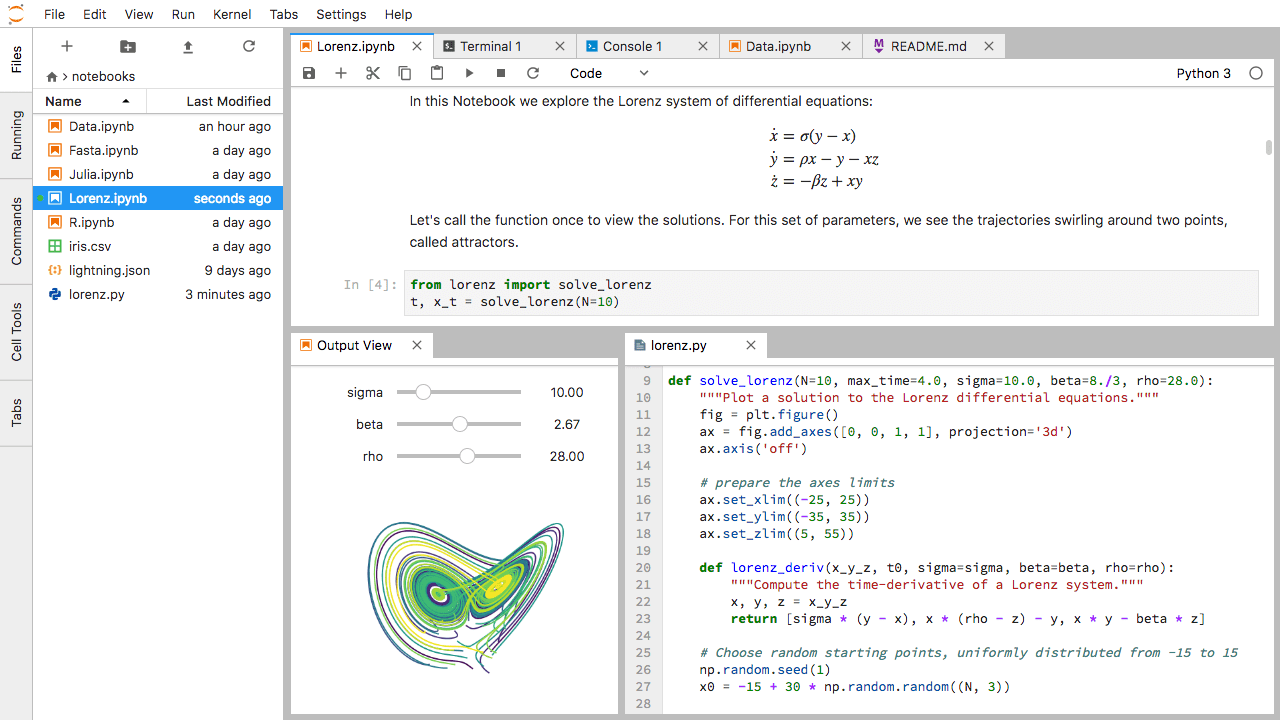
While working on a project for Jabra, I wanted to share some of my work internally. Other people in my org don´t necessarily have a way of reading .ipynb files (notebooks) or even python installed in their system. Therefore, I often need to to export my notebooks as .html files. But this time, I wanted to create a presentation.
However, after a long time looking into how to do that, I finally found an issue that addressed it. After finding it, I commented:
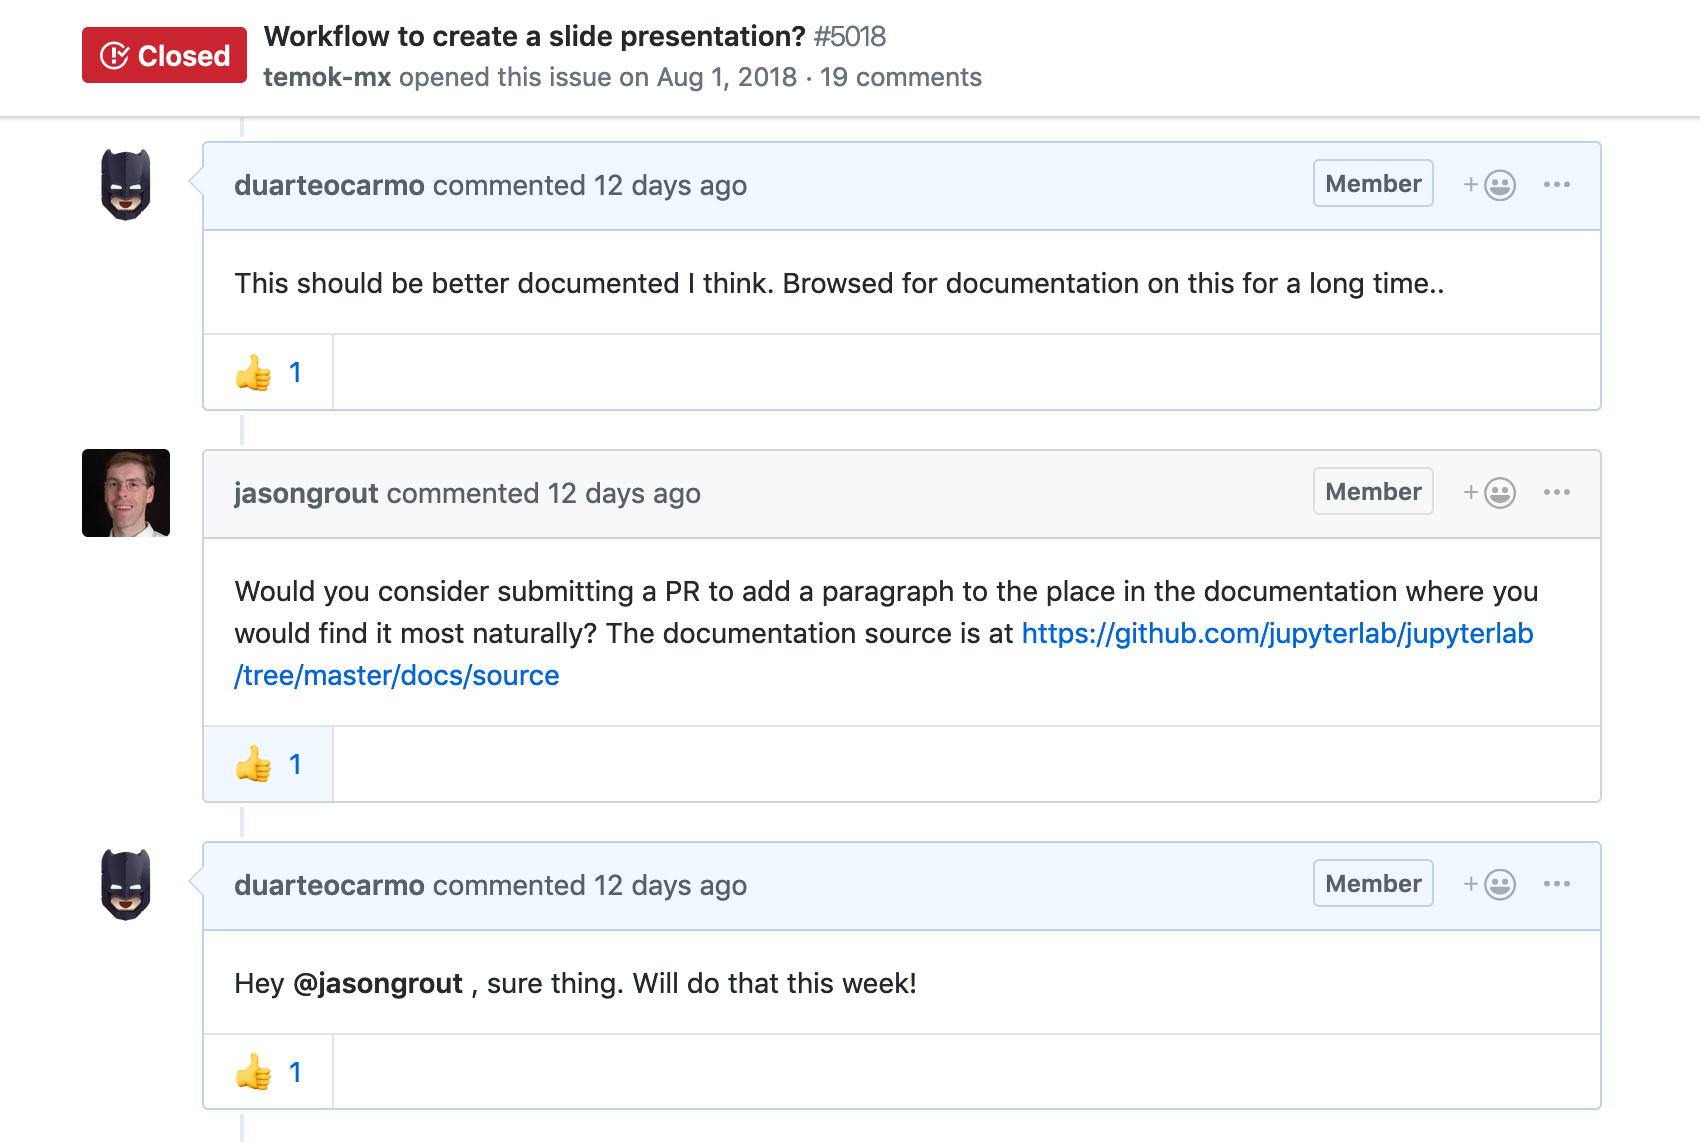
I was instantly called out by one of the main contributors, asking if I would consider contributing to the project and opening a pull request (PR).
And so my open source contribution journey began.
Contributing
So my mission was to add a piece to the documentation of the project that explained how users can create a presentation from a jupyter notebook. I'm not going to go through all of the details of the process but I want to give a general overview.
The first step was to follow a couple of tutorials (for example this good one) on how I could create this "PR".
After reading up on it, I understood that the first step was to fork the JupyterLab repo. This allows you to have your own version of the repo, basically your own copy of the repo. After cloning my copy of the repo to my local machine, I created a branch where I would start creating the modifications.
The next step was to understand how I could possibly start changing the documentation of the project. Thankfully, JupyterLab has a great guide on how to contribute to documentation.
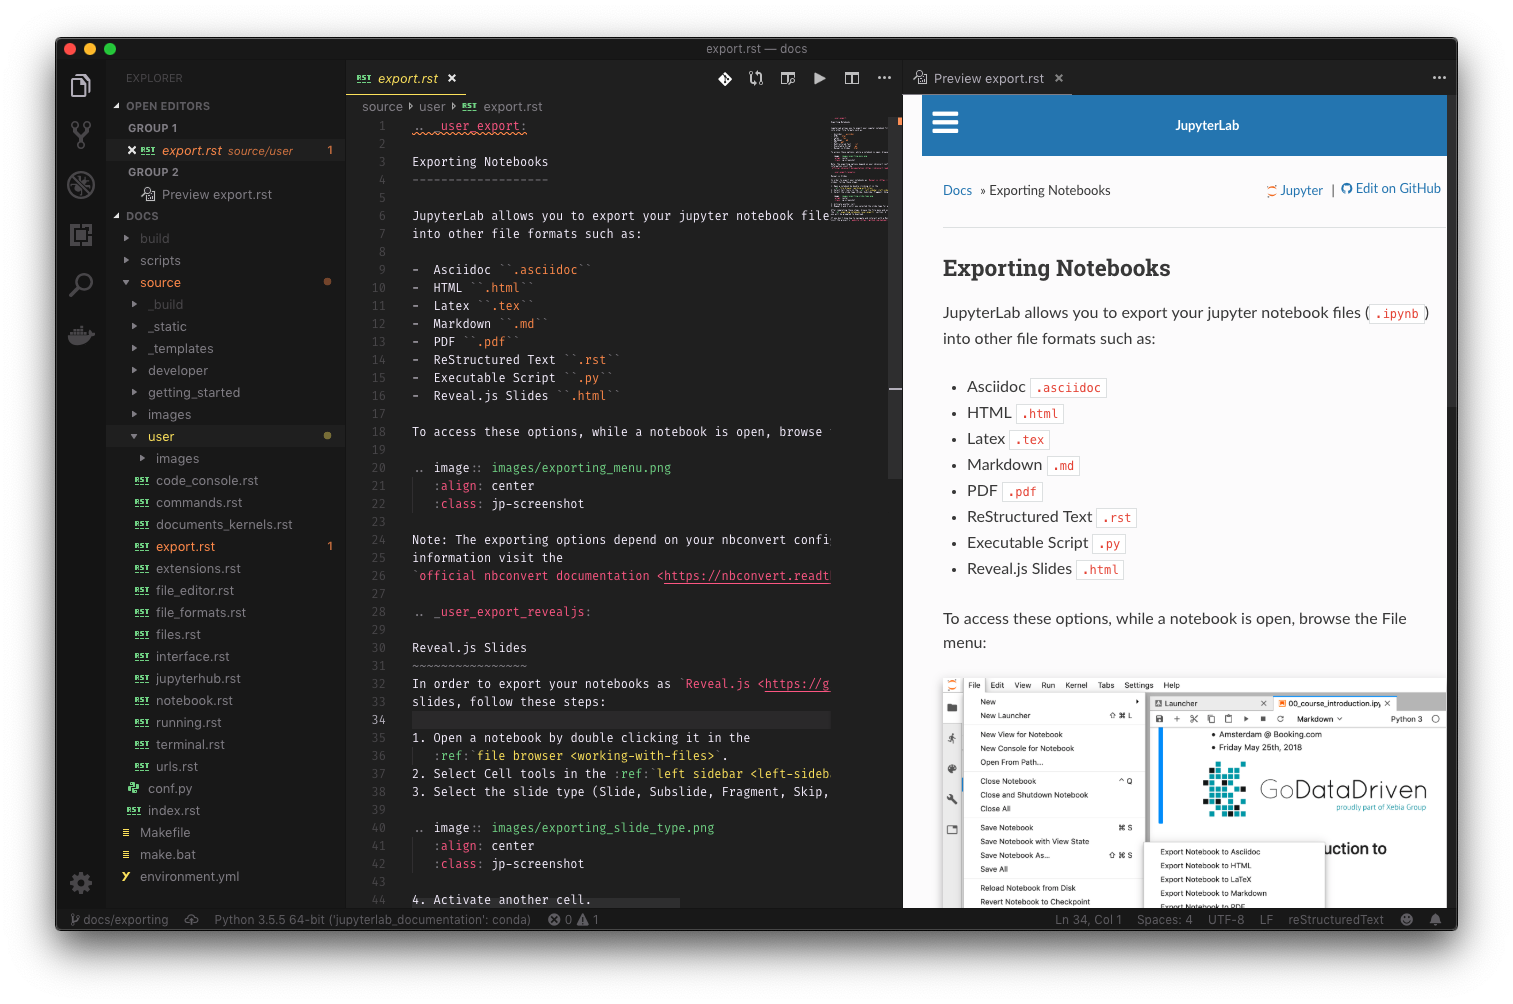
I basically needed to create a .rst (restructured text) file where I explained how a user could export their notebook into a presentation. A .rst file is pretty similar to a markdown file that then gets rendered into an HTML page (using something called sphinx). Here is a screenshot of me editing the file and previewing my changes.
After adding all of the necessary documentation, I made sure that everything passed the tests described in the contribution guide. After that was done, I pushed all of my changes to my branch.
When you do that, GitHub will automatically suggest the creation of a pull request with a click of a button. And so I created one:
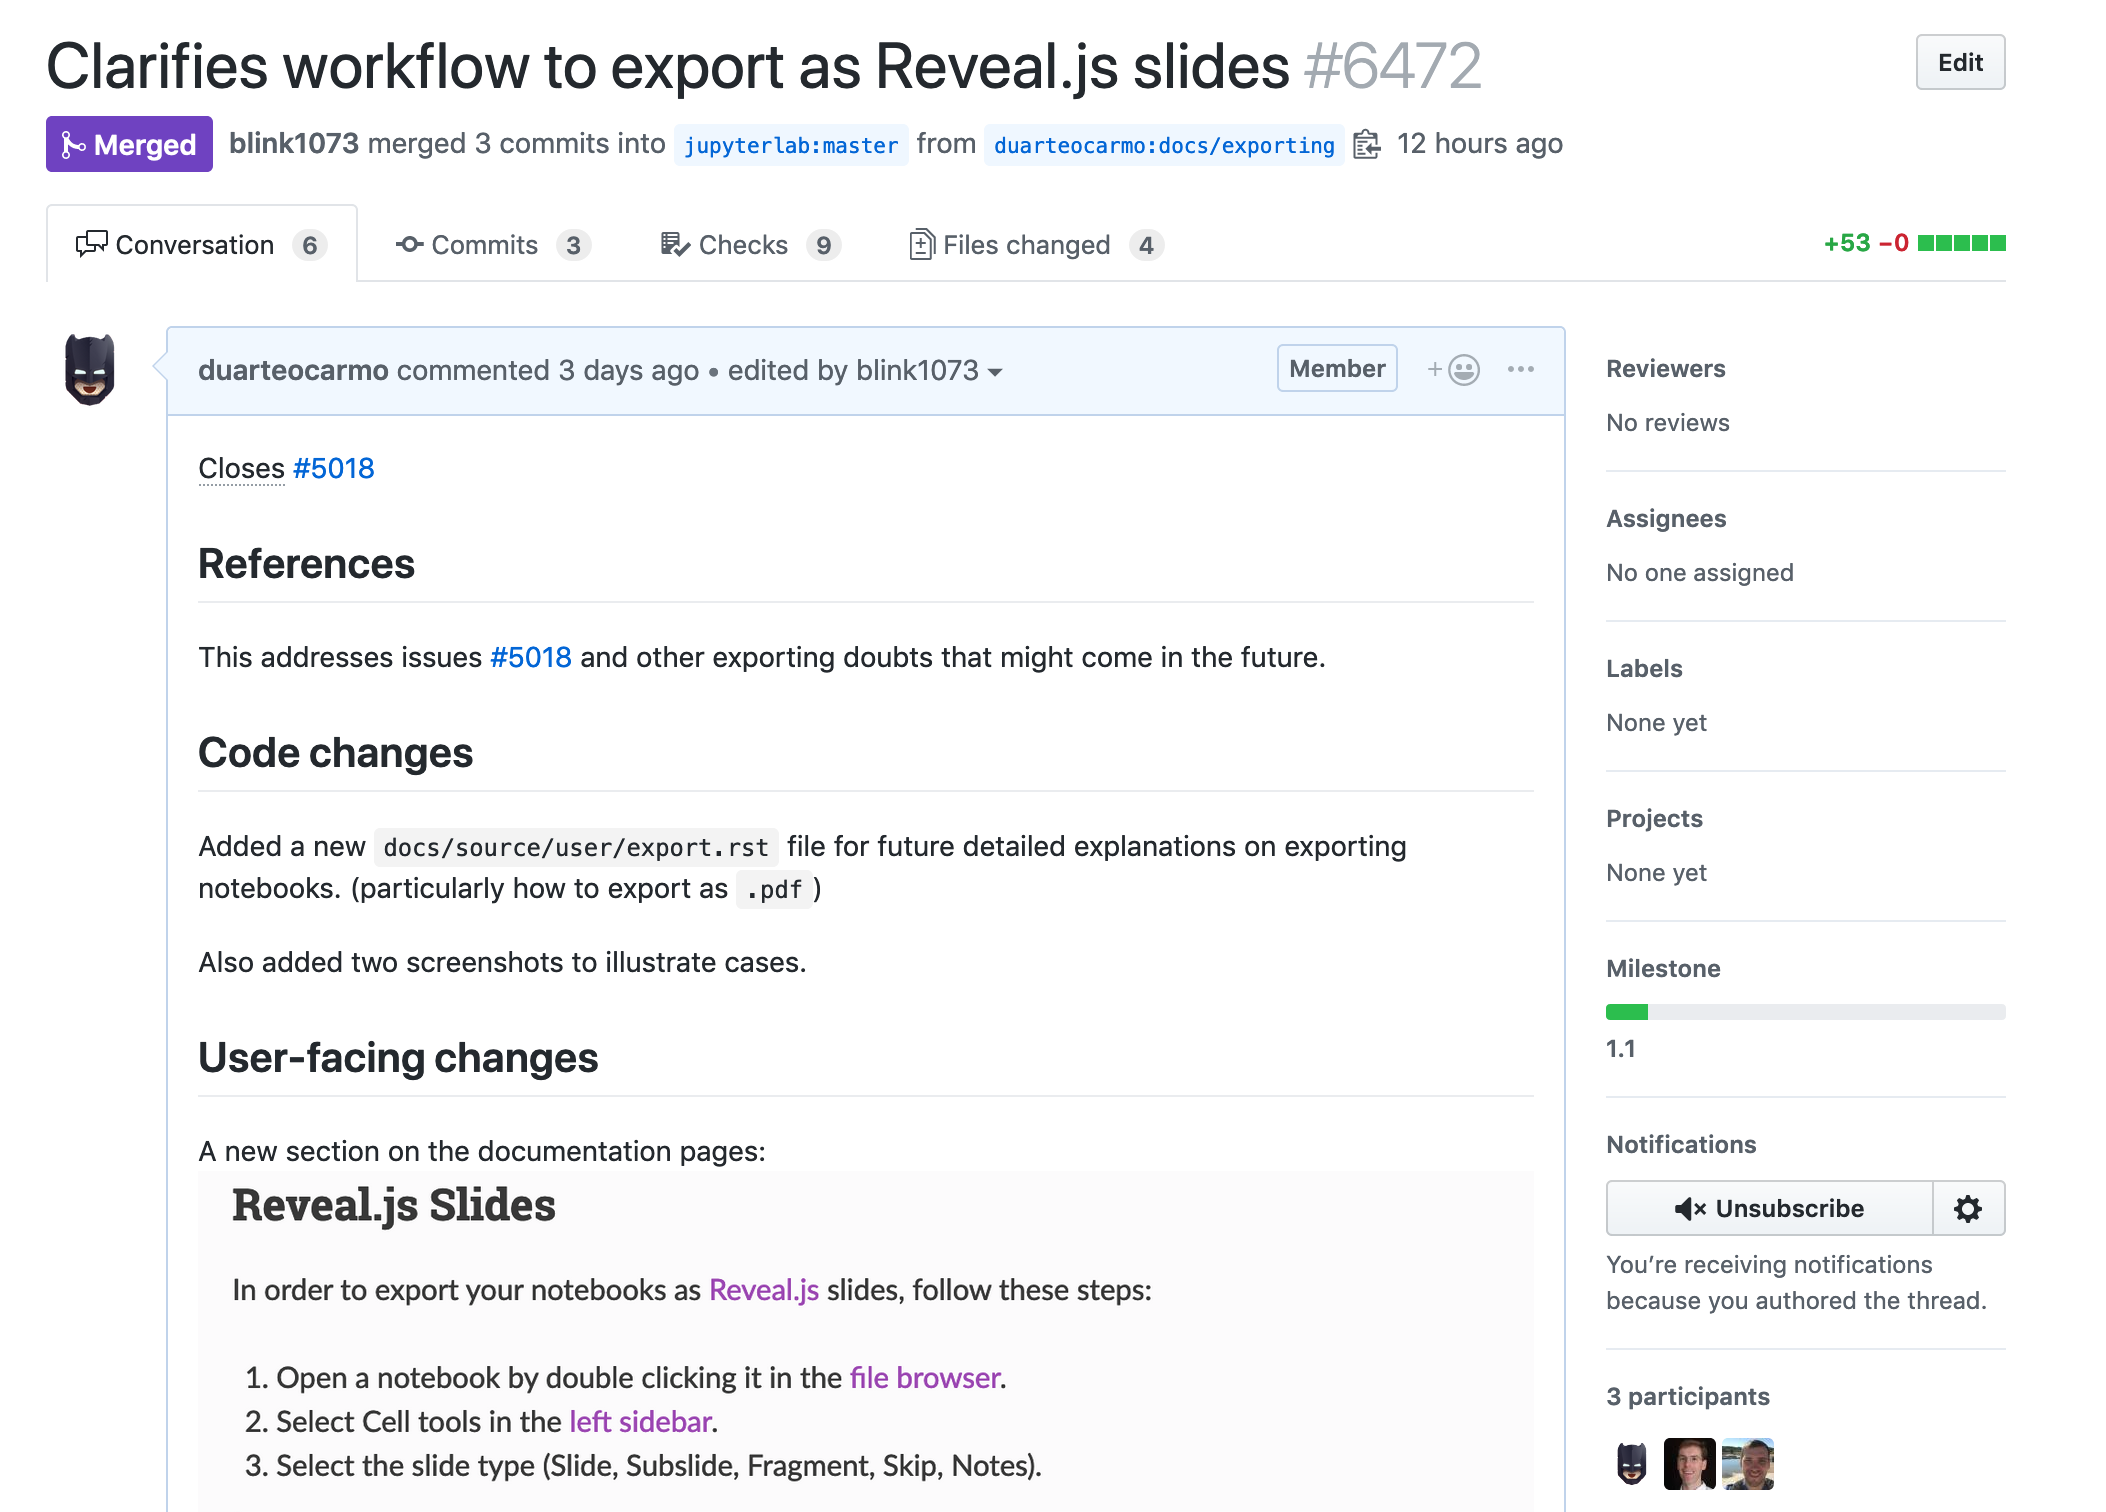
Excited about it, I commented and mentioned the contributors that first asked me for the pull request, saying it was ready. After a bit of back and forth (and a couple of additions), it was finally merged into the master branch! (Which means, it was published!)
Result
For me, the biggest, most important result of all, was the fact that I got to help in a project that is not only used by a wide range of people, but also by me!
If you want to browse the part of the documentation I wrote, you can go to the "Exporting notebooks" section of the official JupyterLab documentation.
Here is a snippet of the page:

Oh, and I also got a cool badge in my GitHub profile. 😜